If you follow my blog, you know how much trouble I have making masculine cards, but I needed one. I thought the sneaker die from MFT would make a cute card. I searched Google for different style Chuck Taylor sneakers and when I found a pair with mustaches, I knew I had to use that idea for my sneaker card!
The sneaker die is very detailed. My favorite part is the tiny die that cuts out all of the eyelets. They look fabulous cut out of gold or silver mirror card stock. They aren't as difficult as you'd expect to glue on and they are well worth the effort because that little detail gives them the look of real sneakers...so cute! I added a craft colored twine for shoe laces.
Guys like sports so I decided to put baseballs, footballs, basketballs and soccer balls inside since it went with my sentiment. I used strips of acetate to attach them to a center spine so when the card is opened they bobble all around!
You can see the acetate strips a little better in this pic!
Thanks so much for visiting :)
Janet
Supplies Used:
Cardstock: Black, assorted DSP, gold mirror card stock
Stamps: none - sentiments were done on the computer
Dies: My Favorite Things LL All Star High Tops, Spellbinders Labels 17
Miscellaneous: Acetate, twine, Stampin' Up Scalloped Oval & Large Oval
I find making masculine cards a challenge. I tend to buy cute or pretty stamps and they don't work on "guy" cards. This week, I needed two thank you cards for men that I don't know very well. I had been thinking about a technique using my Crazy Bird stamps and Pan Pastels and I had one of those "Aha"moments...I realized that the Crazy Bird stamps would be perfect for the thank you cards!! Everyone loves them and they are definitely not feminine!! The technique I wanted to try was to use Versamark Ink and Pan Pastels to add some texture to the birds while coloring them. I got out a bunch of texture stamps...crackle, numbers, swirls, harlequin, chicken wire and a word stamp. First, I stamped the birds with Ranger Archival black ink, then I masked the eyes and beaks and stamped a pattern/texture onto each bird with Versamark Ink. I took my brightest Pan Pastels and colored the birds. When you color over Versamark with Pan Pastels, the stamped areas get much darker so the patterns although subtle, looked great! Here are the two cards that I made.

I didn't want the sentiment too mushy because like I said, they are guys and I don't know them very well so the outside says, "Life is tough..." and on the inside, it says, ...Kindness matters. Thank you". Short and to the point! You can see the crackle texture on the blue bird much better than on the red bird but it is on both of them. Here's a close up of the red bird card. You can see the crackle a little better here...
I wanted to make a little scene for the bird to stand in, so I used the new MFT die-namics called Rolling Hills. I love how you cut the fence and then cut another fence out of green and use the waste for the grass to glue below the fence! It is so cool. I know I'll be using this die a lot!
I used Pan Pastels to color the sky. I used Pthalo Blue Tint and Violet Tint. The leaves are another one of MFT's Die-namics called Wild Greenery. Here are some of the texture stamps I used. I found that I got the best results when using stamps with smaller less dense textures...although I really like how the bird with the numbers came out. Here is a sampling of the texture stamps...
I put Crystal Laquer on the birds eyes to make them shiny. I love how the shiny eyes catch the light...I just love these birds, they make me laugh!
I hope my cards inspire you to get out your stamps and play!
Thanks for stopping by to take a look :)
Janet
This card was made for a swap. The theme was "heavy metal". I went crazy with everything silver and gold that I could think of! It was fun trying to figure out different textures to use on the metal. The dots and harlequin design on the background of the card were stamped with silver and gold Encore pigment ink
For this part I used a flat washer from Home Depot. I stamped a clock design onto it using Staz-On ink and attached it with a brad. The gold square was cut from a piece of a metal sheet that I got at Micheal's. I used a mold from Ten Second Studio to put the design on it.
I used a different mold to put the dots on the silver piece of metal and then used metal punch letters (purchased at a tool store) to put "HAVE FUN" on the little gold rectangle. You can see a portion of a gold frame in this picture. It is a frame stamp that I embossed with gold embossing powder
The metal pieces used here were lock washers (I think that's what they are called) that I found in Home Depot. I added a little key charm. Tombow Mono Metal glue held them on and worked through the mail.
The stamp is from Paperbag Studios. There was so much texture on the card that a flat image didn't look right. I stamped the image once onto watercolor paper and once with Encore silver ink on black paper. I colored the boy using Tombow markers on the watercolor paper. Then cut out the two sides of the image and mounted it onto the black one using foam tape to give it dimension. I did a search to see if the stamp is still available but couldn't find it. There was one for sale on Ebay though. The heavy metal theme would work well with any masculine collage image.
Supplies Used:
Cardstock: Black linen
Stamps: Paperbag Studios: Every Life has a Story, Dotted background stamp, Harlequin background stamp, clock stamp, Live Well stamp
Ink: Encore Pigment ink: gold and silver, Memories: black, Staz-On: black
Markers: Tombo markers: brown and skin colors, Pilot silver marker
Miscellaneous: Gold and silver metal crafting sheets, metal molds, gold and silver embossing powder, assorted washers, brads, key charm, metal punch letter set
Thanks for stopping by today. Have a creative, happy week :)
Janet
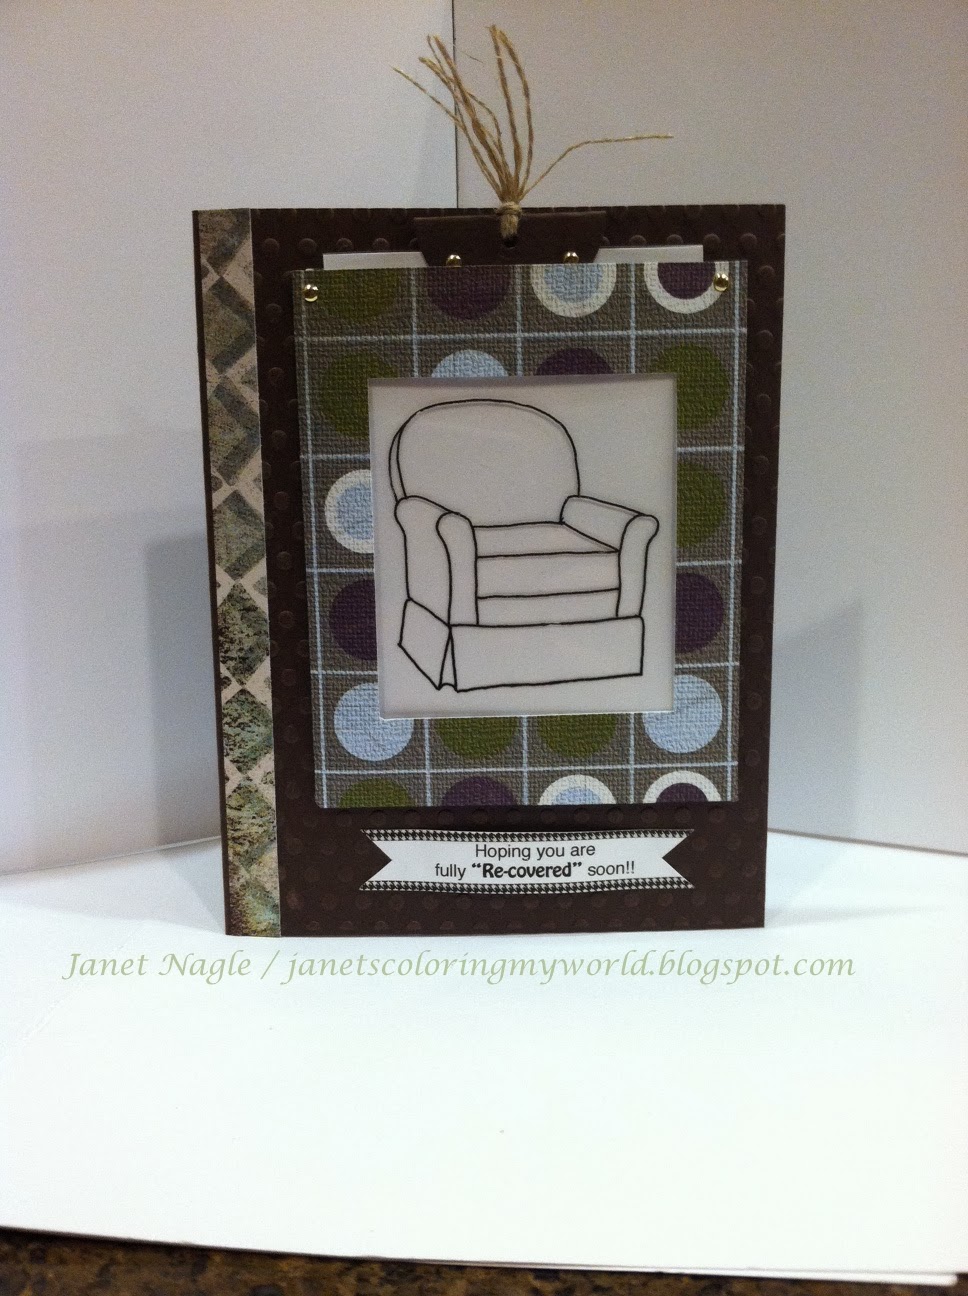
I did it! I finally tried making a magic slider card...and it was FUN!! It wasn't nearly as difficult as I had imagined. I don't know why I put off making one for so long! I was inspired by a card I found on Pinterest made by Amy Wanford. You can see it here! Isn't it great...just perfect for someone who is coming back from surgery. Problem is, I didn't have an upholstered chair stamp so I ended up finding some clip art and using my light box to trace it, then had to trace it again on acetate. Let me tell you, it was a pain so if you want to try making this card, I'd recommend finding a chair stamp. It will make your life SOOO much easier! Here is how my card looks closed...
As you start pulling on the the tag...
And completely opened...
From now on I will put a little tag on top saying, "Pull" because the recipient of this card didn't realize it was magic until his Mom (my stamping friend, Kathy) told him to pull it!!
I do better at video directions than written ones so here is a link to the YouTube video that I used to help me make this card. I sized down the measurements so the little pocket would fit on the front of a standard sized card. l found another tutorial by Beate from Splitcoaststampers, here. It's so good I thought you might like to take a look at this one, too!
Thanks for visiting!
Janet